
Best Camera Settings - Indoor v Outdoor
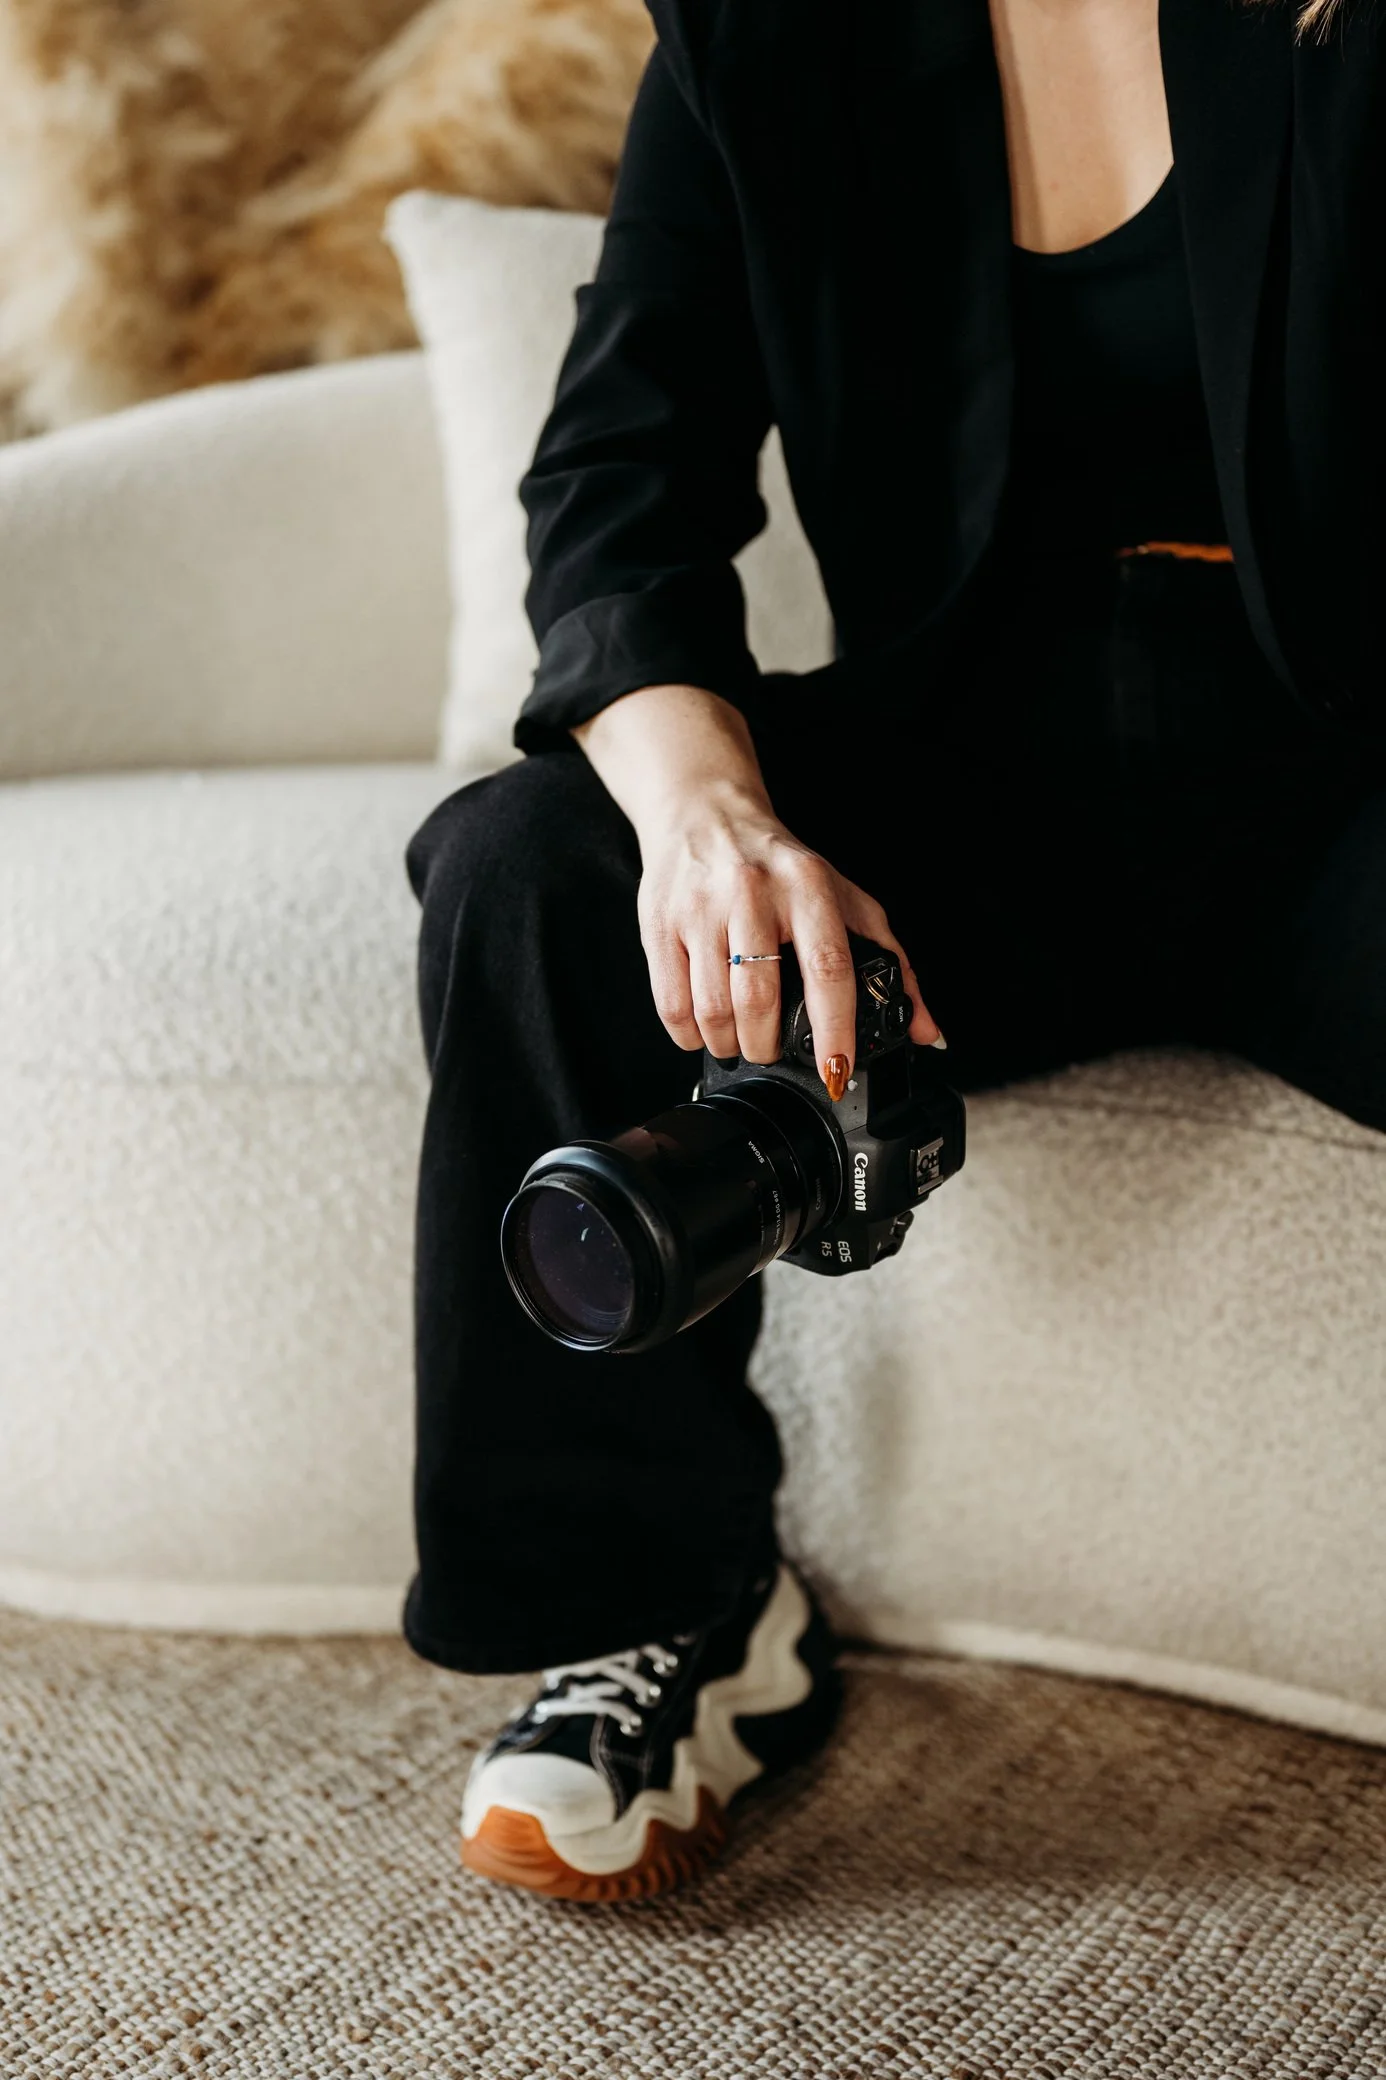
I’ve said it before (and I’m sure I’ll say it again), lighting can make or break a photo, and knowing how to adjust your camera settings for indoor vs. outdoor shooting is key to capturing great images. Indoors, you’re often working with lower light, while outdoors, you might struggle with harsh sunlight. The good news? With just a few simple adjustments to ISO, aperture, and shutter speed, you can take sharp, well-lit photos in any setting. Let’s break down the best camera settings for both indoor and outdoor photography.
Before that though, let’s remind you what ISO, aperture, and shutter speed are!
ISO (Light Sensitivity)
ISO controls how sensitive your camera is to light
Low ISO (100-200) = best for bright conditions (sharp, clean images)
High ISO (800-1600+) = helps in low light, but can make photos grainy
Think of it like sunglasses - a low ISO is like wearing sunglasses on a bright day, while a high ISO is like taking them off in the dark to see better.
Aperture (Blurred Background or Sharp Focus)
Aperture is the opening in the lens that controls how much light enters
Low f/number (f/1.8 - f/2.8) = more light, blurry background (great for portraits)
High f/number (f/8 - f/16) = less light, everything in focus (great for landscapes)
Think of it like your eye’s pupil - a wide aperture (low f/number) lets in more light, while a narrow one (high f/number) lets in less.
Shutter Speed (Motion Blur or Freeze Action)
Shutter speed controls how long the camera’s sensor is exposed to light (measured in seconds or fractions of a second)
Fast shutter speed (1/500 - 1/2000 sec) = freezes motion (good for action shots)
Slow shutter speed (1/60 or slower) = creates motion blur (great for low lighting, or creative effects)
Think of it like blinking - a quick blink (fast shutter) captures a still moment, while a slow blink (slow shutter) lets in more light but can blur movement
Indoor Photography Tips
Indoor lighting is often dimmer and less predictable than outdoor light, so you’ll need to adjust your settings accordingly.
Increase Your ISO (but not too much!)
ISO controls how sensitive your camera is to light
indoors, start around ISO 400-800 and adjust as needed
if it’s really dark, you might need to go up to ISO 1600 or higher, but be careful - too high and your photos will probably look grainy
Use a Wider Aperature (Low f/Number)
a lower f-stop (like f/2.8 or f/1.8) lets in more light, helping brighten your photos
this also creates a nice blurry background, also knows as bokeh, which is great for portraits
Slow Down Your Shutter Spped (but watch for blur!)
since there’s less light indoors, a slower shutter speed (like 1/100 sec) can help
if you go too slow (under 1/60 sec), use a tripod or steady surface to avoid motion blur
Use Artificial Light or Reflectors
if the natural light isn’t enough, try using soft lamps, flash, or even a window to brighten your subject
a white wall or reflector can help bounce light for a softer, more flattering effect
Outdoor Photography Tips
Outdoor lighting is usually brigher and more natural, but it can be too harsh or too unpredictable at times. Here’s how to get hte best results:
Lower Your ISO (keep it low for sharpness!)
since there’s plenty of natural light, set your ISO to 100 or 200 to keep your images crisp and clear
avoid auto ISO if you can
Adjust Your Aperture for Depth of Field
for portraits, use a wide aperture (f/2.8 or lower) to blur the background
for portraits with multiple people, you will want to narrow your aperture
for landscapes, use a narrow aperture (f/8-f/16) to keep everything sharp
Use a Faster Shutter Speed to Avoid Overexposure
in bright conditions, use a fast shutter speed (like 1/500 sec or higher) to avoid overexposed, washed-out photos
if it’s cloudy or shady, slow it down slightly (1/250 sec or so)
Shoot During Golden Hour for the Best Light
harsh midday sun can create strong shadows. instead, shoot during golden hour (the hour after sunrise or before sunset) for soft, warm lighting
if shooting in harsh sunlight, try standing in open shade (like under a tree or building) to avoid squinting and harsh shadows
Mastering indoor and outdoor photography comes down to understanding how light affects your settings and making small adjustments as needed. Indoors, focus on increasing light with a wider aperture and higher ISO. Outdoors, keep your ISO low and adjust your shutter speed for bright conditions. The more you practice, the easier it becomes to adjust your settings on the fly. Next time you’re shooting, try out these tips and see how they improve your photos!
XOXO,
Janie Lin